
Setting up the Sea Eagle Explorer Kayak (both the 380x and 420x models) is pathetically easy. Total inflation time will be, when using the manual bellows pump, about 15-20 minutes after you’ve done it a few times (allow more time the first time you do it).
So how do you set up the kayak? Well, this list about sums it up:
- Take kayak out of bag and roll out the kayak
- Partially pump up the two outside air chambers. Do not fully pump it up. You just partially put some air in the air chambers to make the next step a bit easier.
- Insert the floor inside the boat and roll it out fully
- Pump up the floor
- Pump up the two outside air chambers until you can’t put in any more air. When using the bellows pump, you can’t overinflate the boat. When using an electric pump, some care must be taken to not overinflate the boat.
- Pump up the seats and attach them to the D rings of the boat
- That’s it…expecting more?
- Below are some pictures I took of my boat (a pre-2012 model, thus it is a different color than the Explorer series kayaks sold today) during the setup process.
In 2012, Sea Eagle redesigned the 380x. But the setup procedure is basically the same. The newer kayaks are identified by blue hulls, while the older 380x kayaks have gray hulls.
On this page are setup instructions for both the new kayak as well as my older 380x. The new kayak is a video provided by Sea Eagle. My old kayak shows pictures I took several years ago when I set it up.
Newer Sea Eagle 380x Inflatable Kayak Instruction Video
See More Info about the Sea Eagle 380x Kayak at Sea Eagle.Com
Pictures of setting up the Pre-2012 Sea Eagle Explorer Inflatable Kayak
Pictures taken a few years ago while setting up for a multi-night on the Yellowstone River. My kayak dates from 2003. Despite her age, she’s still looking good and has yet to develop a leak.
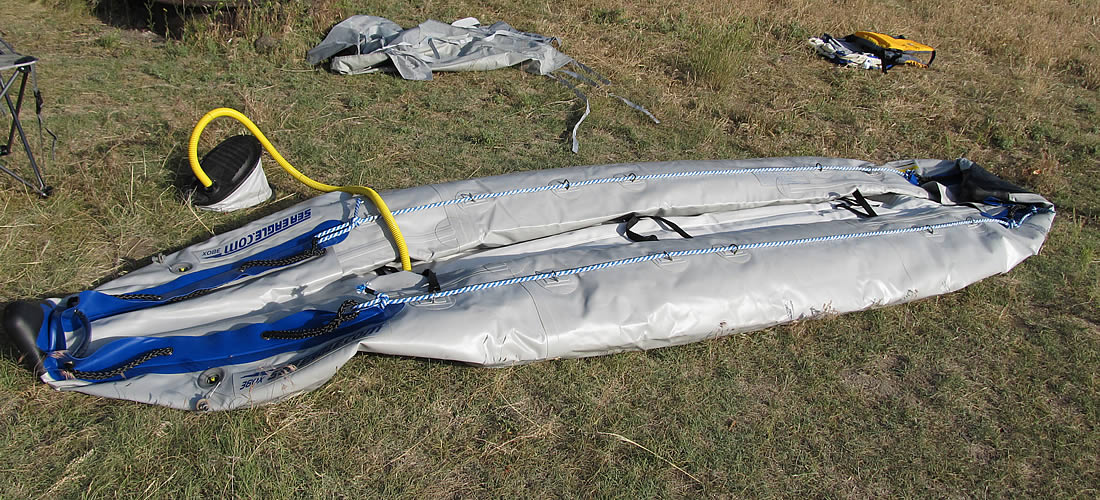
Boat has been rolled out. Pontoons partially inflated to allow for floor installation. Once floor installed (which it is in this photo), begin pumping it up. Then move on to the pontoons.
Another View of Pumping Up the Floor. You want to keep the side pontoons only partially inflated until the floor is fully inflated.
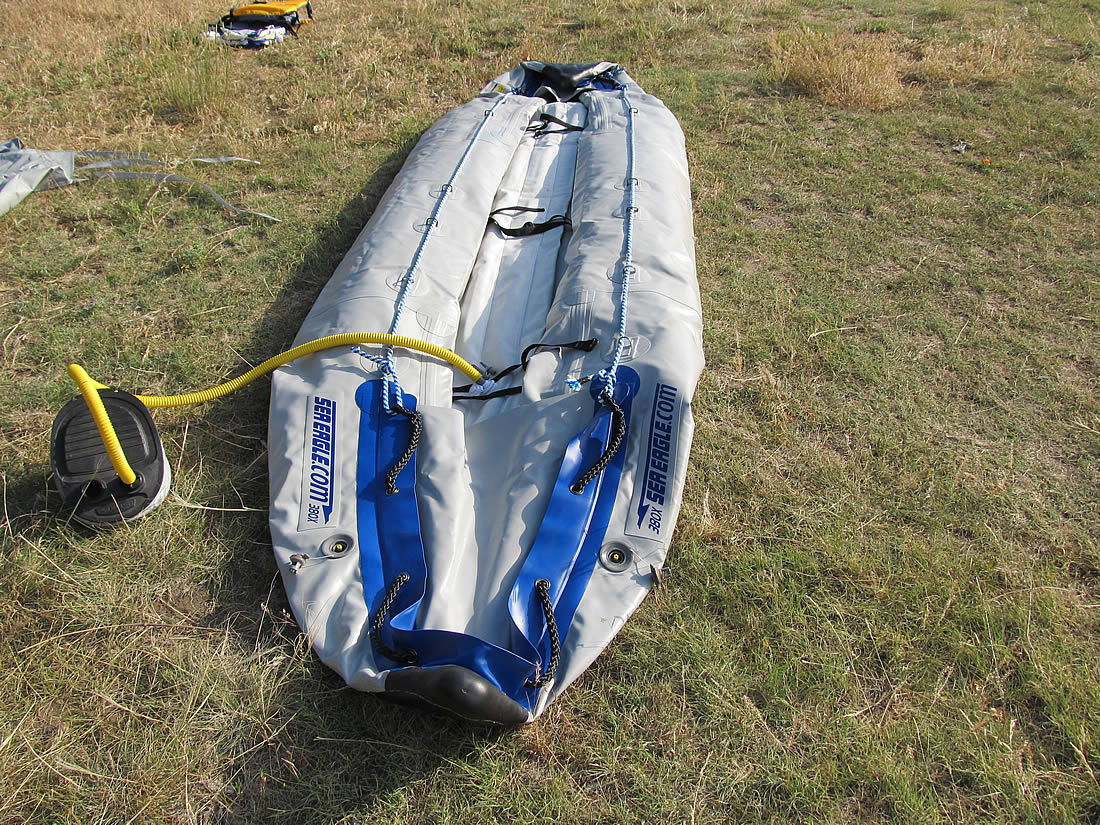
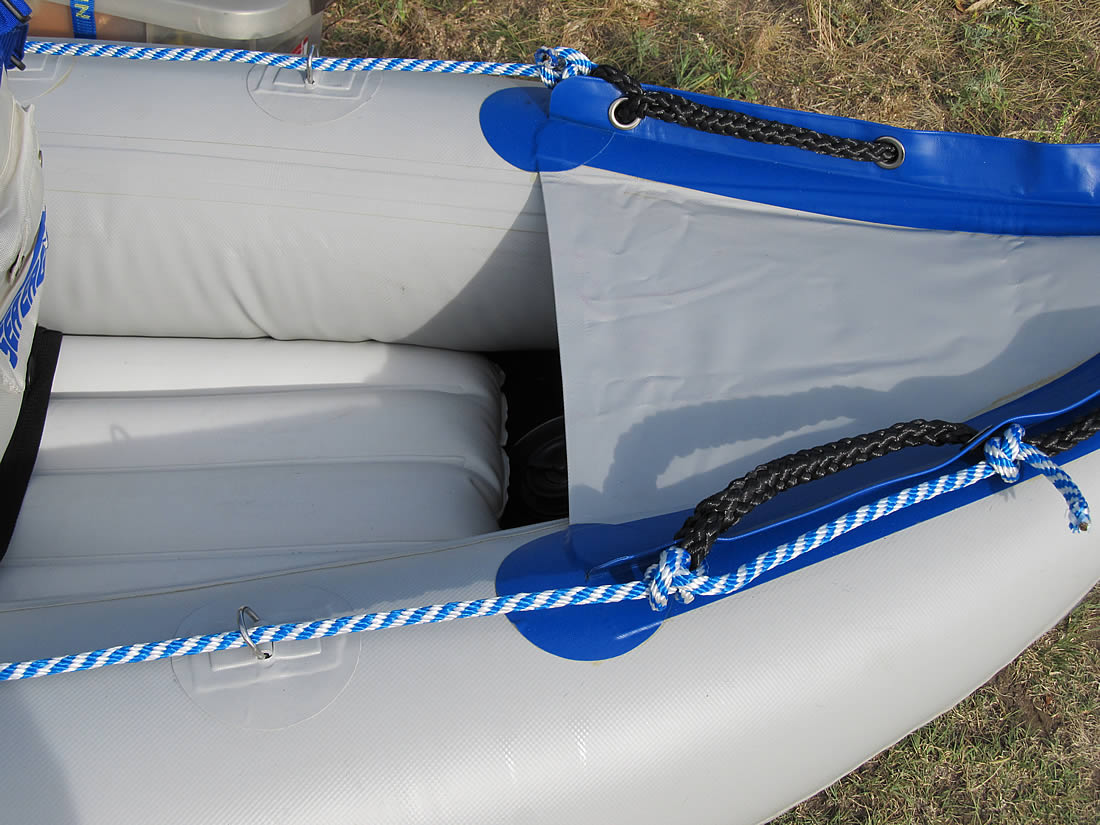
Floor is fully inflated. The black straps across the floor attach the floor to the kayak, so it won’t move around. One pontoon is fully inflated. Time for the next.
Just another view of one pontoon and floor fully inflated. Next is the other side.
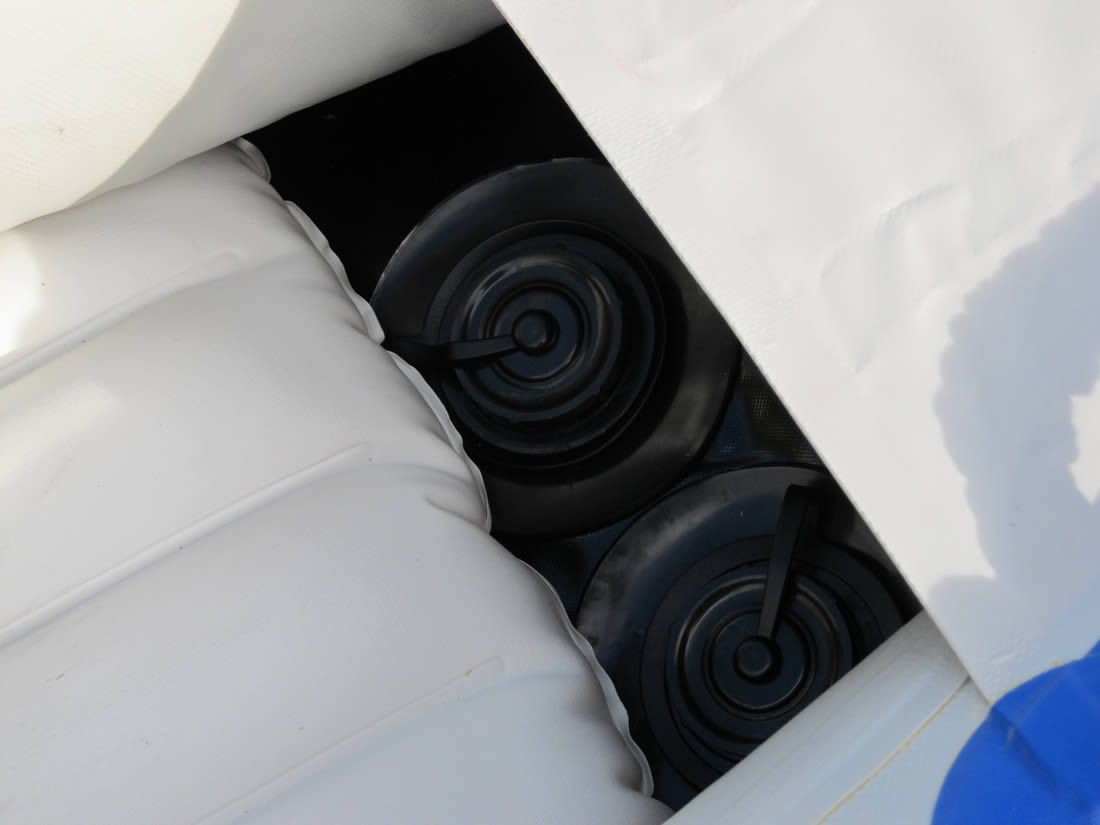
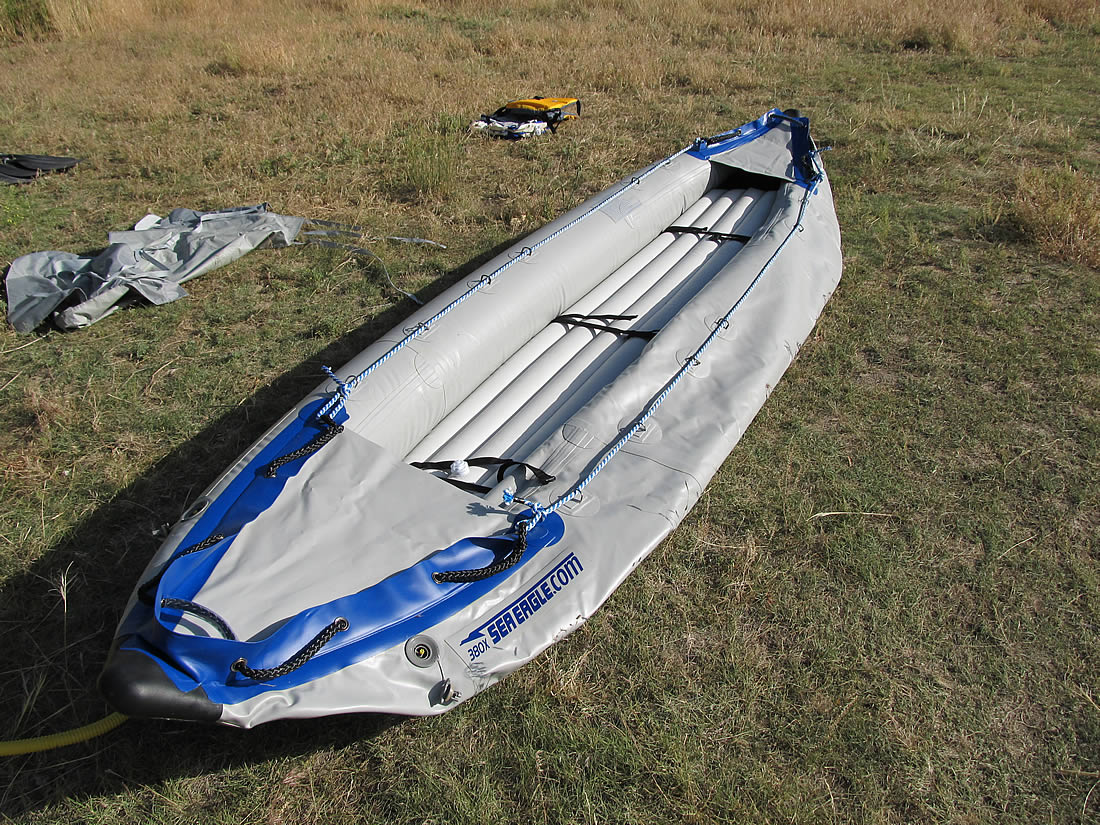
The drain valves on my older kayak are rather poorly located, and there is only four of them. The newer kayaks have drain valves both in front/back/along the sides – and have a total of 16 of them. It’s a huge improvement over my model 380x. Still, you need to make sure you don’t accidentally cover them up.
This isn’t much of a worry with the new kayaks, due to a different type of floor used and the fact that it has 16 drain valves instead of the four in mine.
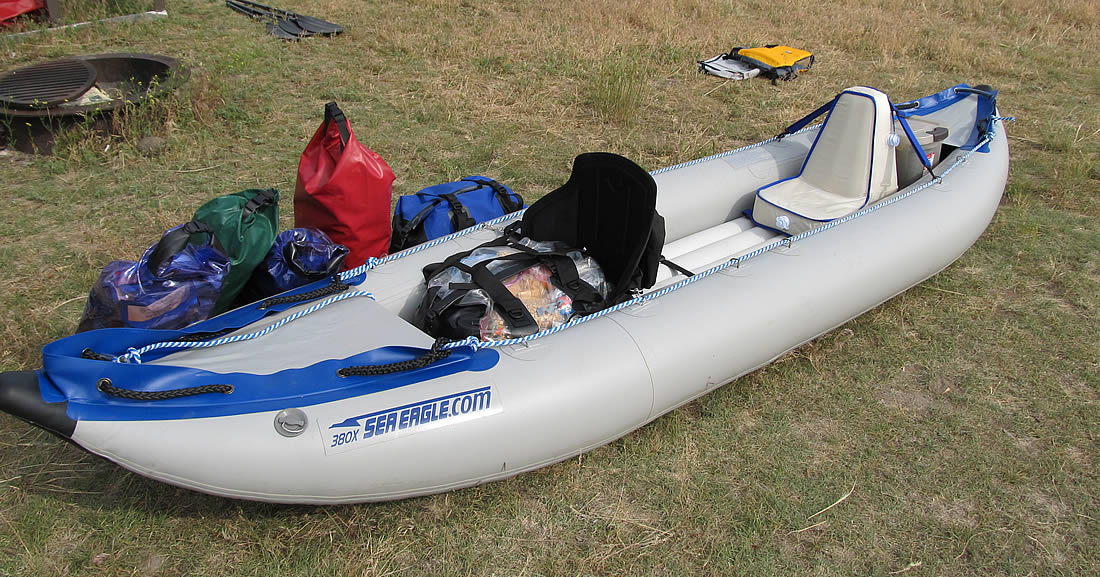
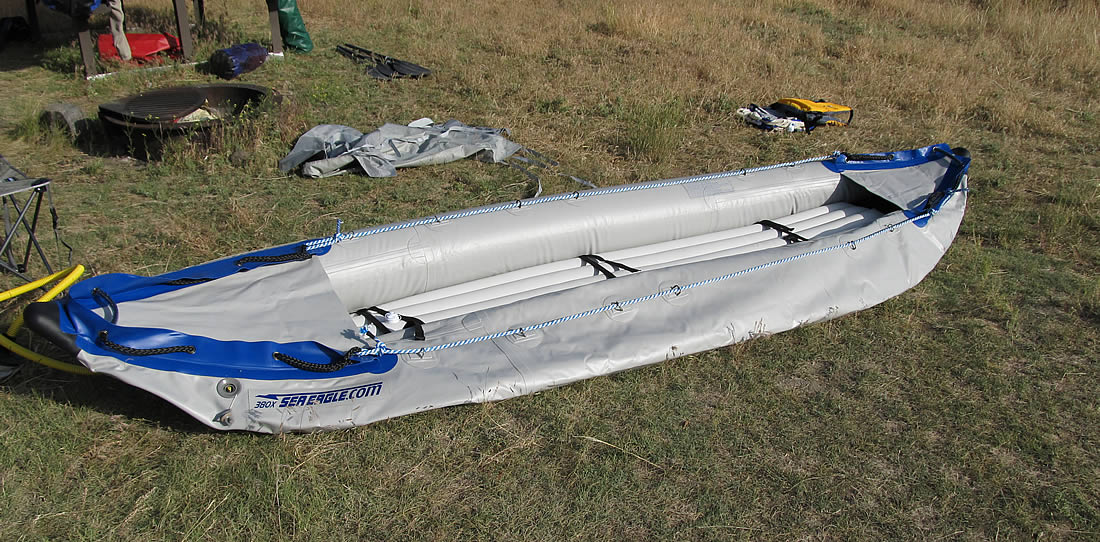
Both seats installed. Boat is ready to be loaded-only to discover I was trying to carry way too much gear!